Exploded view hero image

Scroll down to learn more


UCI SolEater

Designed, manufactured, and integrated an Aeroshell for UCI's first Solar Car.

Solidworks | Composites | CNC
Visit the Website →
Project Info Grid

CHALLENGE

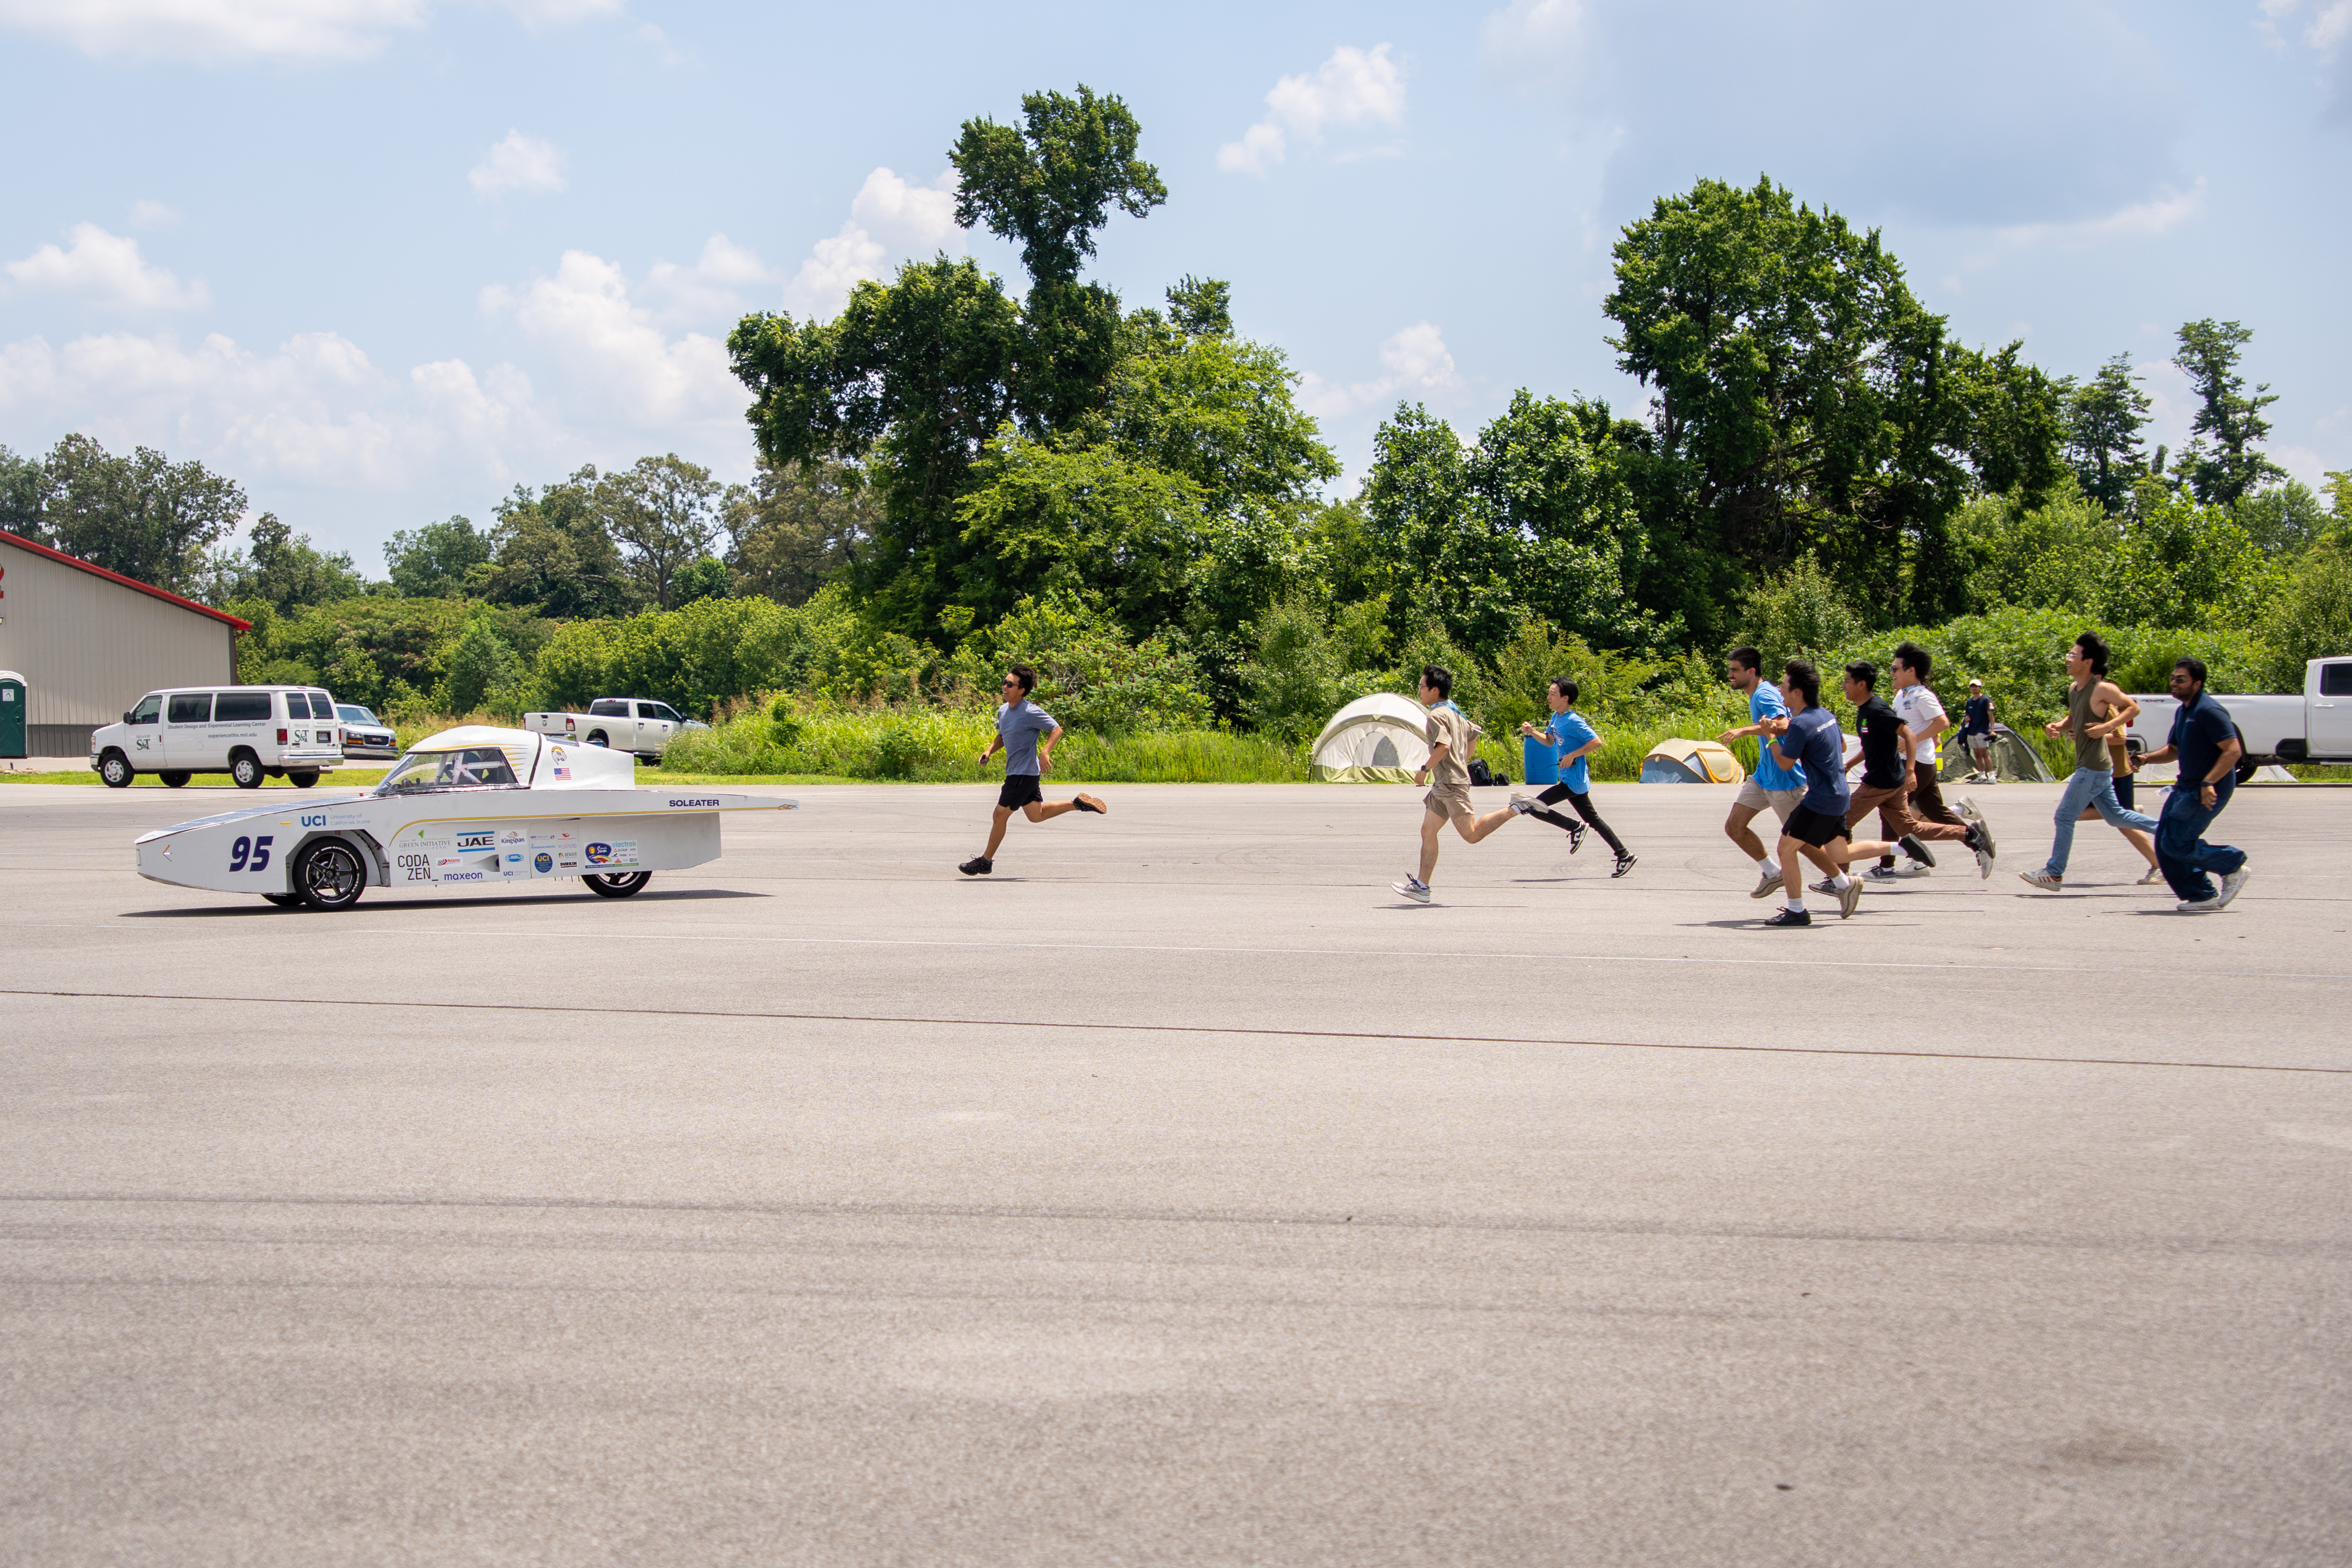
Design a Solar Car to compete in an annual Solar Car Grand Prix in Bowling Green, Kentucky. Build the vehicle to pass scrutineering and compete in the endurance race.

Aerobody Subteam

Design, manufacture, and implement an aerodynamic shell component onto the car. My main roles involved composite manufacturing and CAD integration.


TEAM

A team of 9 UCI Students
working on our Aerobody.

TIMELINE

(June 2024 – Present)

Techniques

CNC
Composites
CAD

Manufacturing Steps

Construct Shell Components
Shell Surface Work/Repair
Combine Shell Components
Integrate onto Chassis/Rest of Car


Hover to learn our process
First view of SolEater

Topshell Divinycell Layer. Laid in between two single ply fiberglass.

Second view of SolEater

Bare aluminum top shell mold. Layup was done on top of the surface.

Third view of SolEater

Topshell layup vacuum process.

Third view of SolEater

Topshell out of mold, with foam rigidification adhered.

Third view of SolEater

Bare aluminum side shell mold.

Third view of SolEater

CNCing foam for male plug on sideshell layup.

Third view of SolEater

Male plug for side shell layup. Duratec coat spray painted on to protect against bondo.

Third view of SolEater

Side shell layup #1

Third view of SolEater

First side shell result.

Third view of SolEater

Side shell layup #2

Third view of SolEater

Trimming excess fiberglass on side shell.

Third view of SolEater

Full cut top shell laid ontop of side shell for the first time.

Third view of SolEater

Two side shells being adhered together

Third view of SolEater

Canopy layup

Third view of SolEater

Fully CNC'd foam mold for Canopy

Third view of SolEater

Sideshell fully put together and bottom lips cut.

Third view of SolEater

Sideshell bulkheads adhered for reinforcement.

Third view of SolEater

Canopy cut and ready for latching.


Process In-Depth

Integration


Designed and simulated using Solidworks CAD and ANSYS Fluent

Foam CNC Work


Accumulated over 100+ hours working with CNC. Foam was a big part of our composite work from the sideshell male plug to the canopy layup mold.

FSGP 2025 Lessons Learned


Aeroshell along with SolEater's mechanical/electrical systems managed to pass all static scrutineering. However, due to electrical issues up to the very last day, our car was unable to test for dynamics. Lessons learned for our Aerobody was to prioritize ease of assembly, as taking off the shell from the chassis was extremely time consuming. These issues are being fixed as of now.

Scissor hinge assembly image

FSGP 2025 Competiton Photos

Image Gallery